Image thumbnail

FAQ

Below you'll find answers to the most common questions you may have.

Can't find the answer you are looking for? Please use our contact us form!

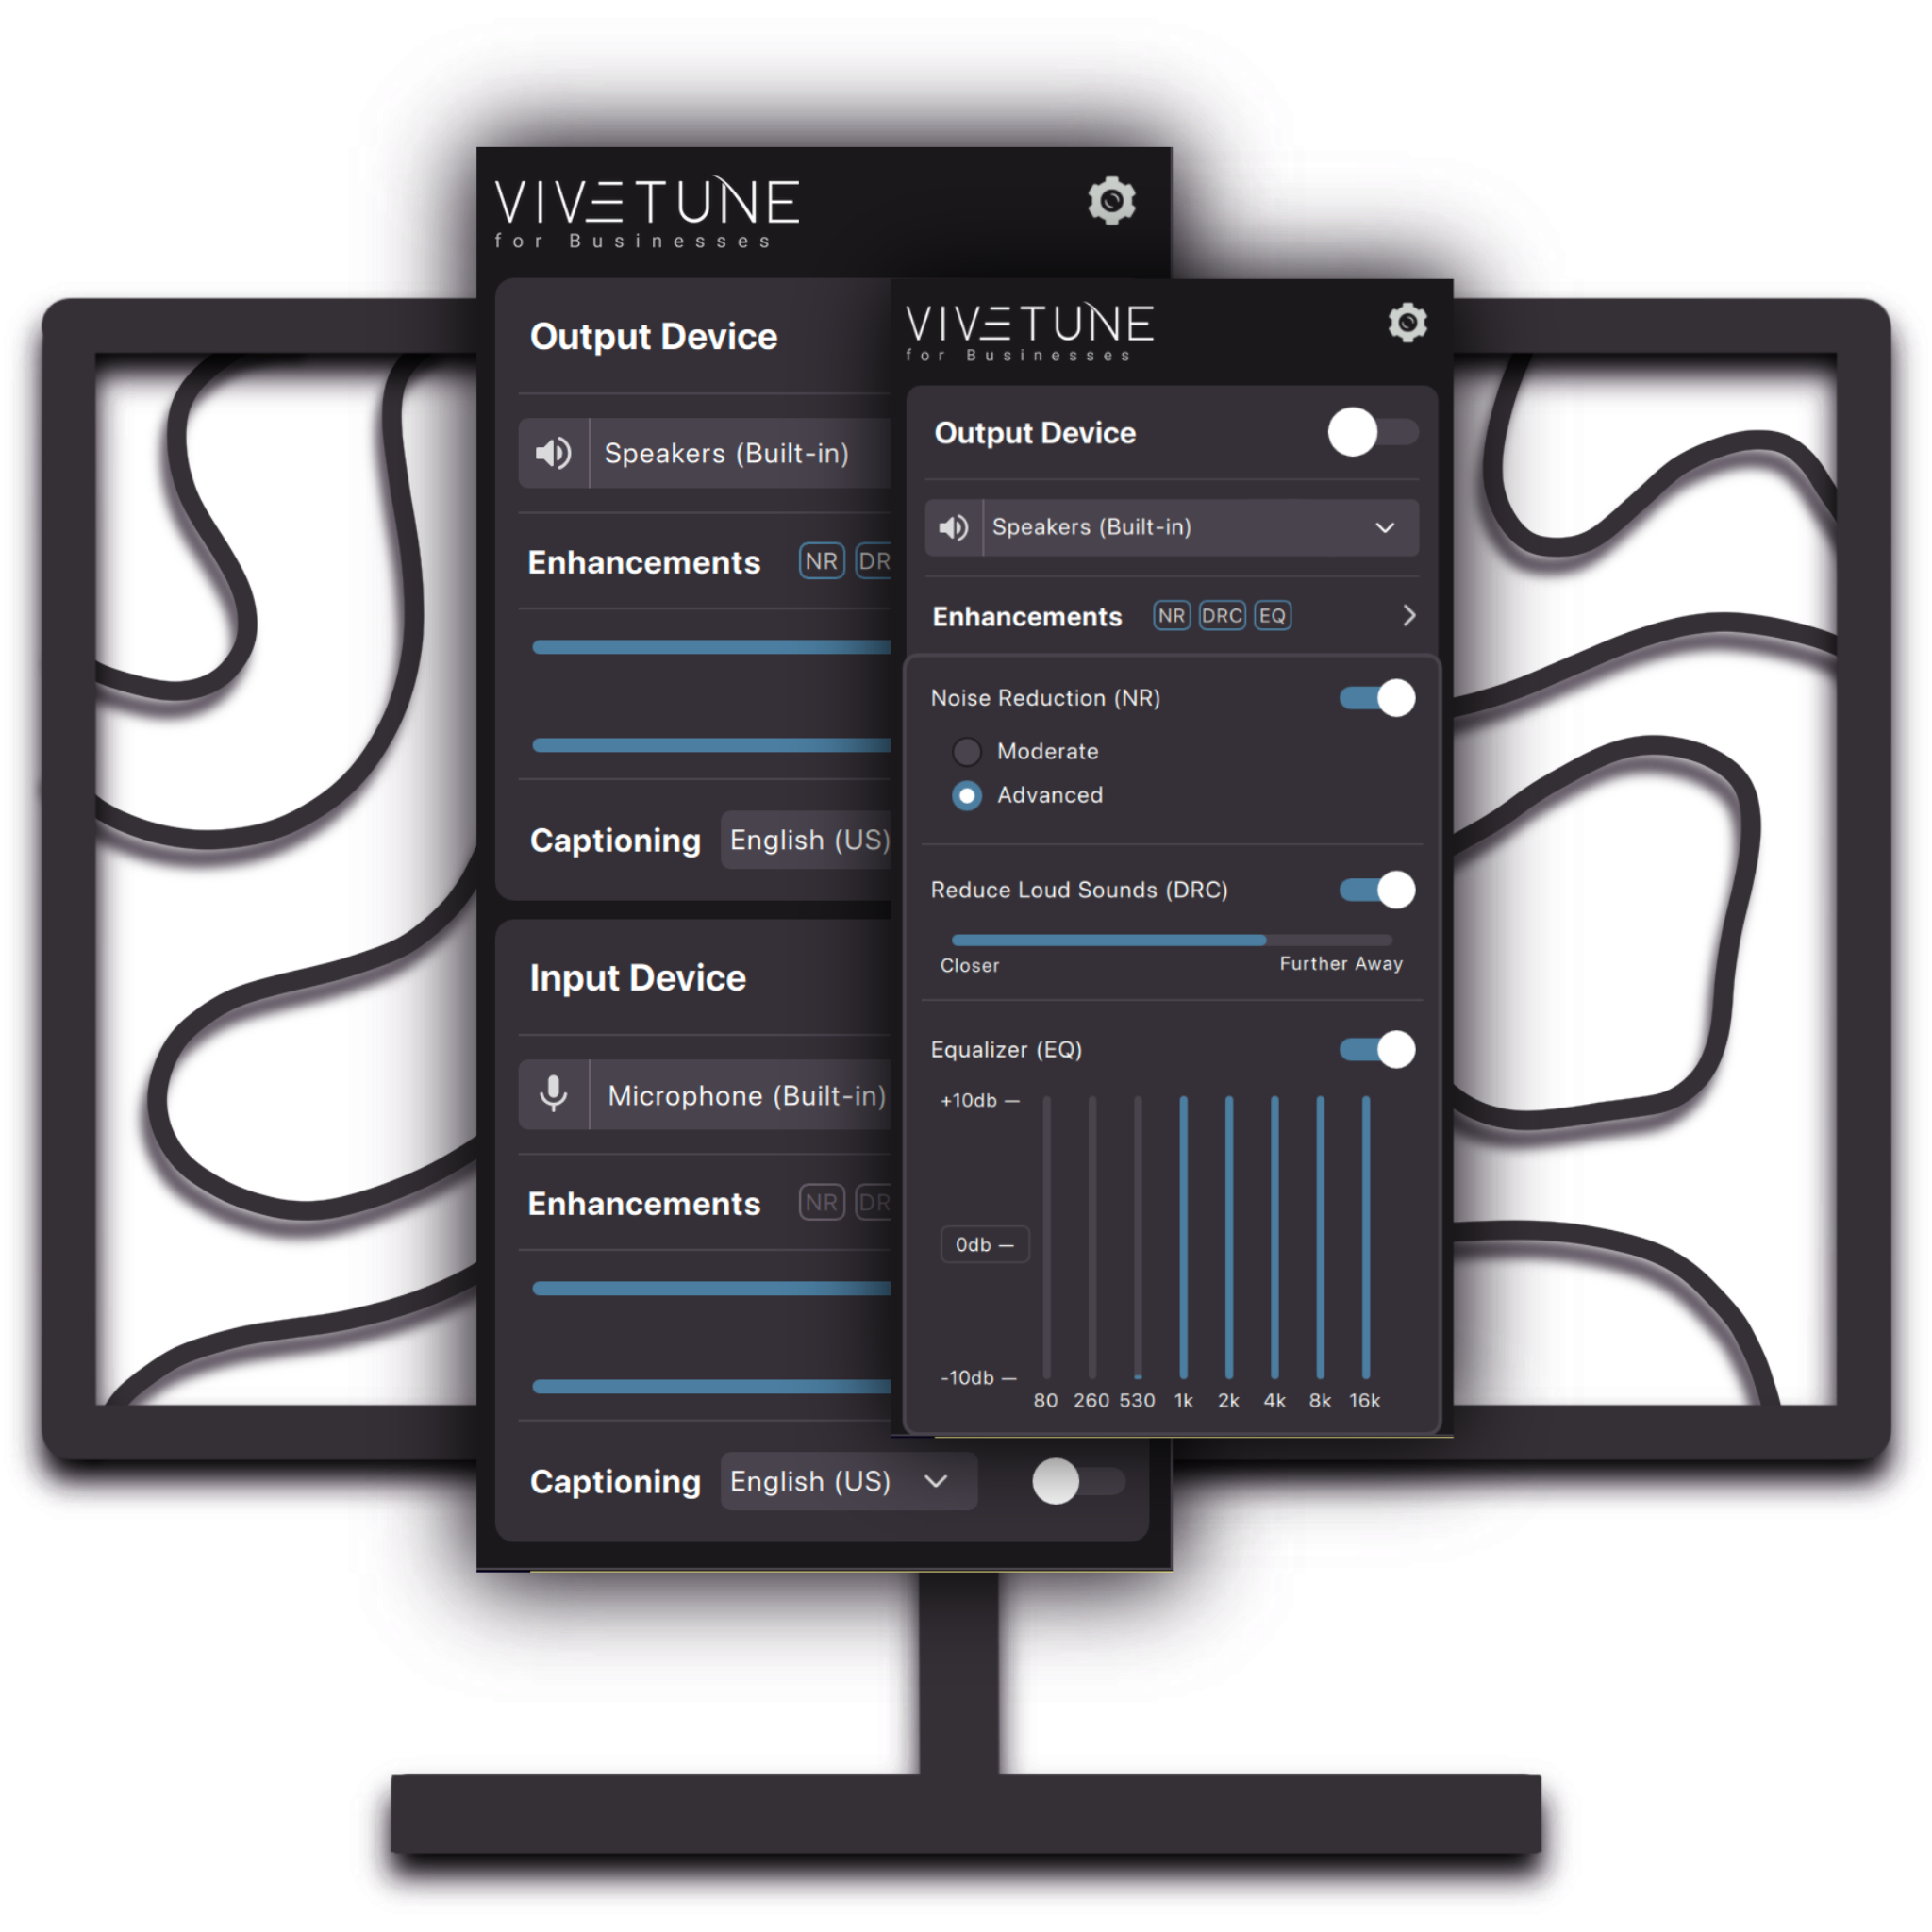
When ViveSound applications are processing audio, they act as a virtual audio device. This means that the system device configured will be the ViveSound application. Once the application has processing enabled, you will need to use the device selection in the ViveSound application to switch between audio devices.

Above picture shows where the device selection needs to be made inside the ViveSound application

ViveSound applications act as a virtual audio device for Mac computers, or an APO for Windows computers. To properly register virtual audio devices for Mac OS, and APOs with the Windows OS, a restart is necessary.

ViveSound application’s volume control is actually relative to the system volume setting.

Consider these steps:

  • disable processing in ViveSound application
  • set system volume to 100%
  • enable processing
  • set ViveTune’s volume to 100%

Now ViveSound’s 100% actually correspond to device’s 100%. And ViveTune’s 50% actually correspond to device’s 50%. And so on. My boosting each frequency range in the equalizer, you can boost the volume past the allowable volume on your device by 12db.

If audio or captioning stops working while using the app, first try to turn off the application, and turn it back on, to see if audio processing or captioning resumes as normal. If this does not work, please try to fully quit the ViveSound application, and reopen, to see if this resolves the issue. If the issue persists, please email support@vivesound.com with the application log files.